
Sprue Cutters #27: Show us your studio
In a recent post for the union, I wrote that one of my bugbears is poor blog photography. Of course, I'm just as guilty as anyone else for posting quick, rough, ugly phone images - but it doesn't mean I'm not annoyed by it (even by my own lack of bothering).
 |
| Phone w/flash - poor composition+harsh light = ugly pic |
Jon's asked us this week to show off our photography space(s) so we can all find some inspiration on how to up our game, when it comes to showing off finished products. I'll probably also wander off on a tangent
 |
| A recent pic I'm happy with |
I'm a videographer by day - horrible title (I don't do weddings or kids' football matches), and often work in a full-on studio environment. Lots of lights, scrims and diffuse gels, polyboards and dulling spray - just to get the cars we shoot to look decent.
 |
| Sometimes we hide small cars behind really big TVs |
Taking this experience home and scaling it down, however, isn't always as easy. Sometimes there's room to set up something proper, and sometimes you have to adapt the natural environment to suit the time/space you don't have.
 |
| These were shot in my kitchen under the cooker hood |
I do shoot with a DSLR camera - mine's a Nikon D5100, which also shoots video. I sadly traded in my D300 to buy this camera, because the D300 doesn't shoot movies - a regretful shame - the D300 shoots better snaps, and the D5100's video is mediocre at best. Oh well.
I have a cubelite popup tent, which is great when it works - it currently needs some maintenance, as it doesn't actually pop up any more. It needs a fair amount of room as well - you need to have at least one bright light shining through the diffuse material, and that light needs its own space. So does the camera/lens - and don't forget you take up space, too!
 |
| This 3ft popup actually needs about 6ft of working space |
I also shoot a lot with my iPhone 5. All scorn aside, it really doesn't matter what the shooting medium is as long as you work correctly to get a decent result.
This means:
Subject
Background
Lighting
and that's it.
Your finished mini is your subject, so that's an easy win.
Backgrounds are a bit harder to achieve - one way is to buy a sheet of coloured/textured A1 paper, and set it up to curve underneath and behind your subject. In theory, your light will be more even, and you won't have a hard edge cutting across the model.
I'm still experimenting with backgrounds - my current favourite is a few sheets of black felt held together with blutack and sheer willpower. Yep - I'm still cutting corners.
 |
| Original shot, without crop |
I tried a few shots with textured kitchen roll as background. These were not as successful as the felt.
 |
| Could have worked. Didn't work. |
As for lights, I try and utilise sunlight as much as possible. That's a freebie light source - it's up in the sky, and sometimes can be seen through house windows. Then add a daylight-balanced LED lamp to fill light from the front. My new Manfrotto KLYP kit for the iPhone has a great LED attachment. I've also used a simple LED torch for spot light. Switch the phone flash off. It's not daylight balanced and it produces harsh shadows you can't control.
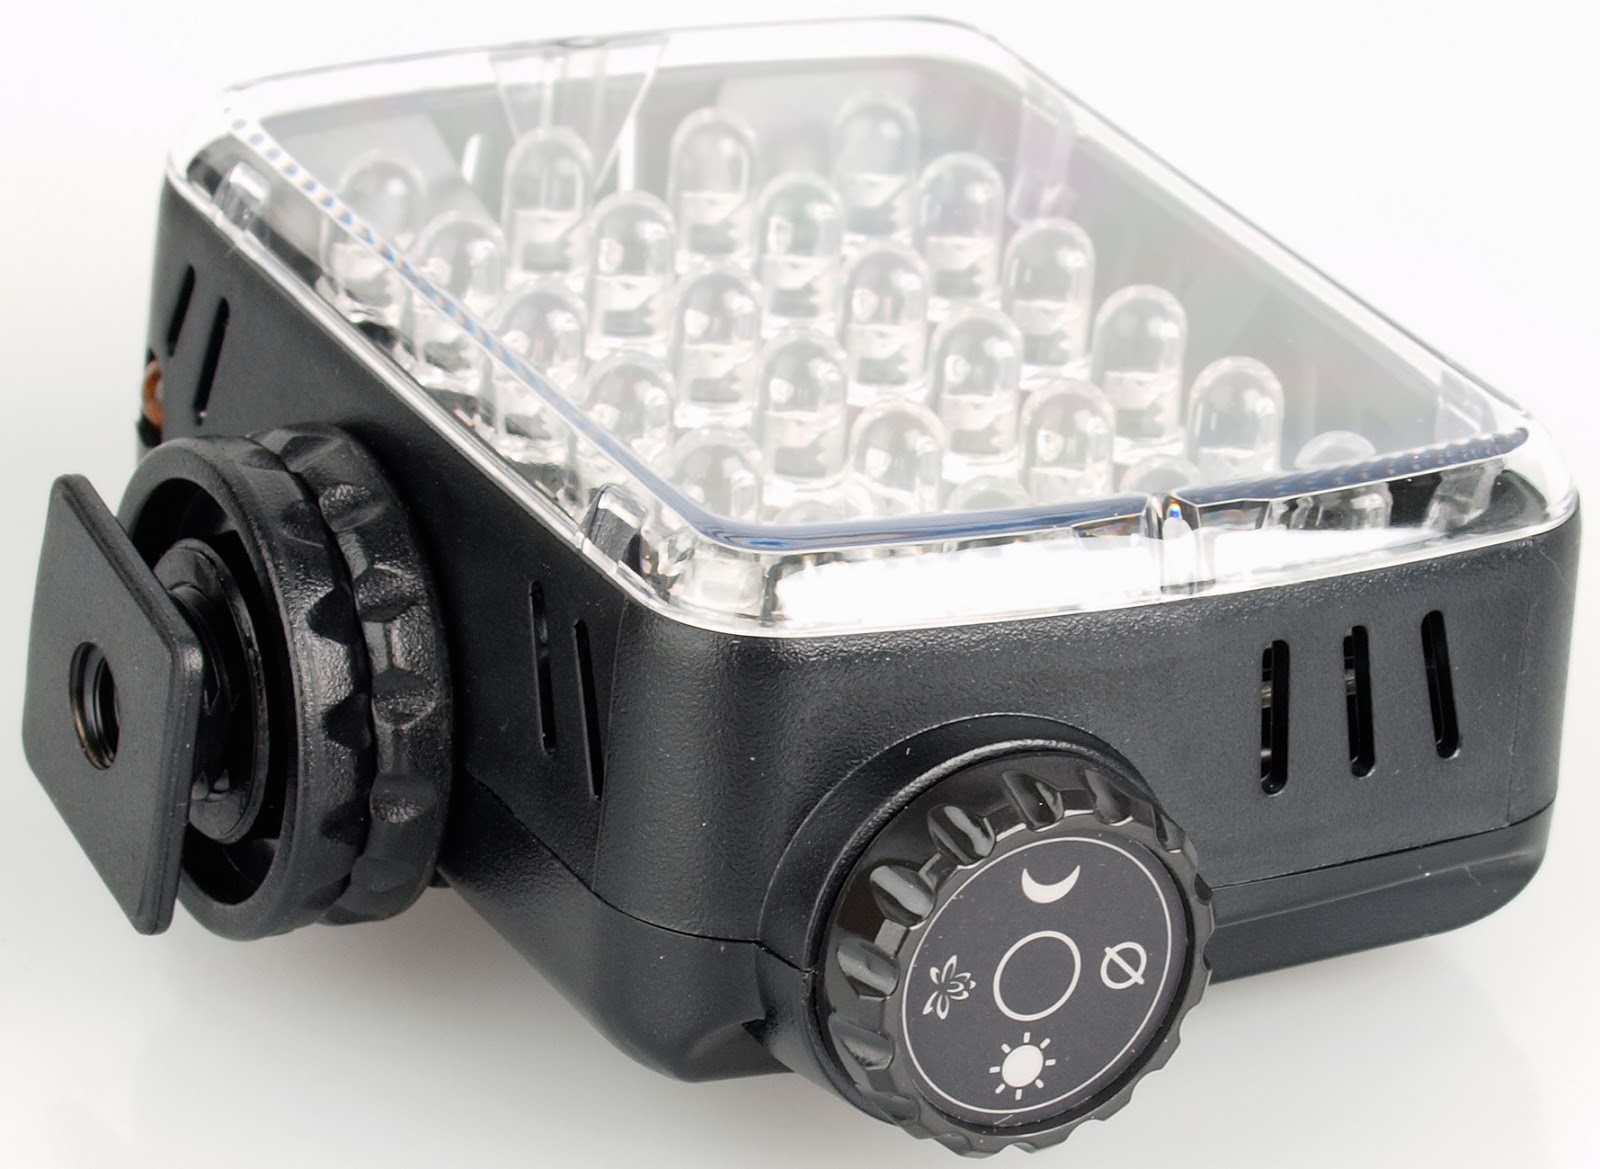 |
| Dimmable daylight control. Brilliant. Better than flash! |
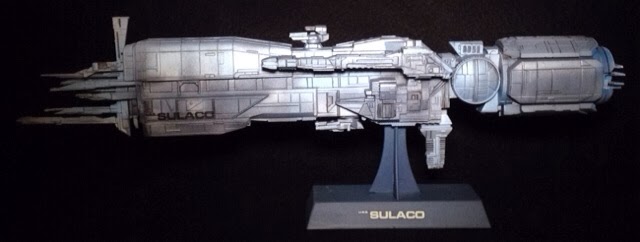
This is how I shot the Sulaco pic below. The model was sat on the black felt (on top of my piano), and it was lit with a dimmed LED panel. I wanted the contrasty harshness to evoke the stark solitude of space. A piece of tissue paper over the LEDs would be diffuse enough to soften up lighting for a figure.
Bouncing the light off a reflector can give you more control, but you may need an assistant to help hold it.
 |
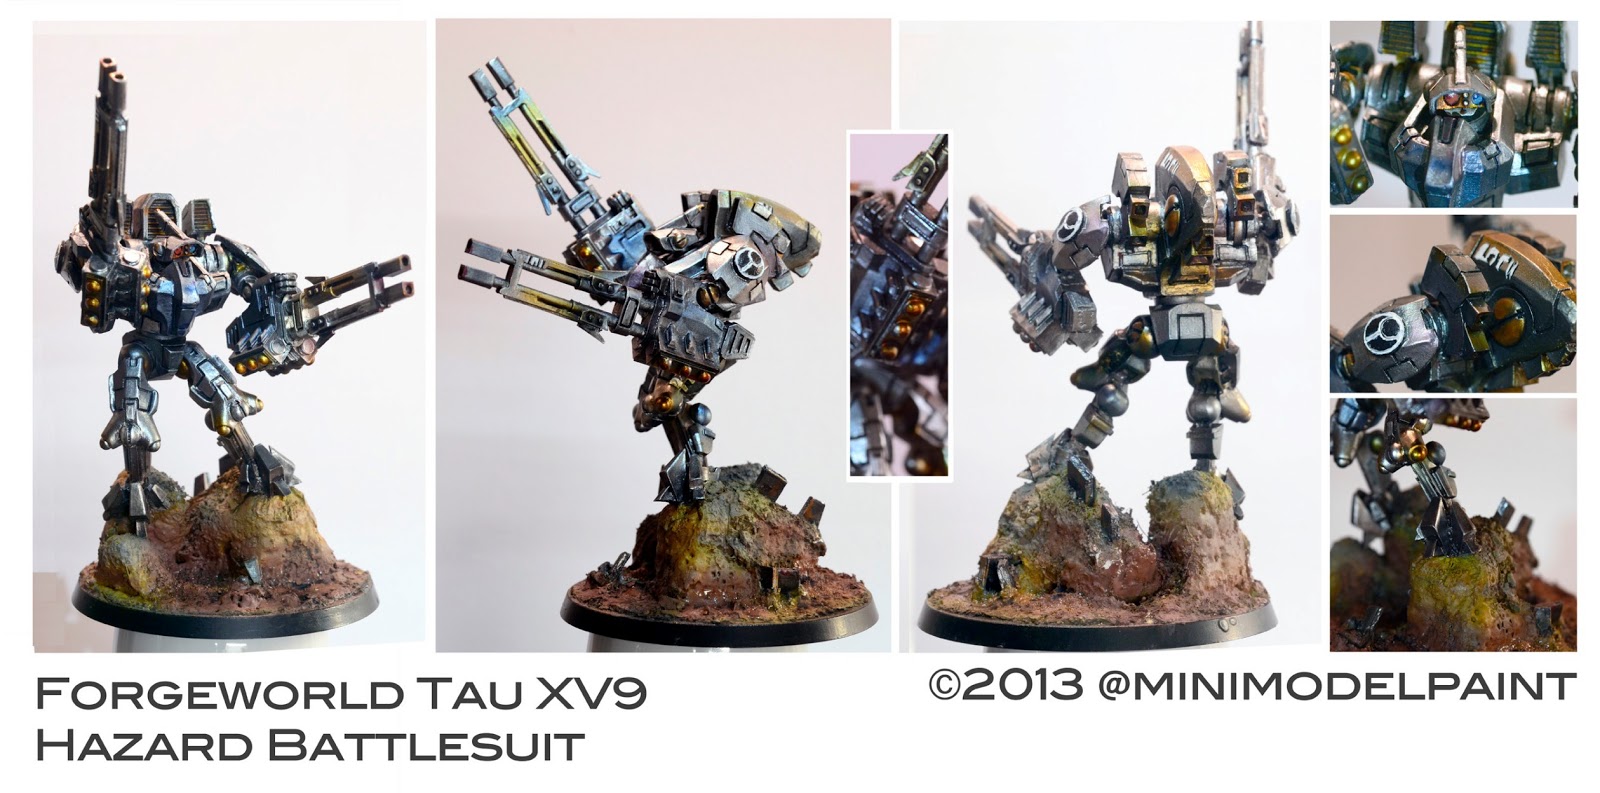
| iPhone picks up nice shallow DOF when you control the light |
Depth of field (DOF) is an important part of photography to get a grip on. Simply put, it's the parts of the photo that are in/out of focus. With proper lenses and light, you can have good control over the depth of field - with phones and compact cameras, you get what you're given, although you can sometimes trick the camera into doing what you want.
I will always try and get the whole model in focus, unless I want you, the viewer, to only look at a portion of the picture.
 |
| Raised arm is slightly out of focus |
So that's my setup - a bit like my painting and building space. Almost wherever and whenever, with whatever's available. Knowing how the light should behave, and guesstimating the result, is quite useful - but that comes from experience. The great thing about digital photography is that your only constraint is time - keep experimenting with lighting setups (plenty of tips online, too), and you'll find the best solution for your space.
One last thing - I'm not sure I've mentioned it, but switch your onboard flash off. You'll be a lot happier.
See how the others are snapping:
So far, there's only one union post to link to
Bill Weckel
and the Sprue Cutters Union hub, where links will also appear
No comments:
Post a Comment